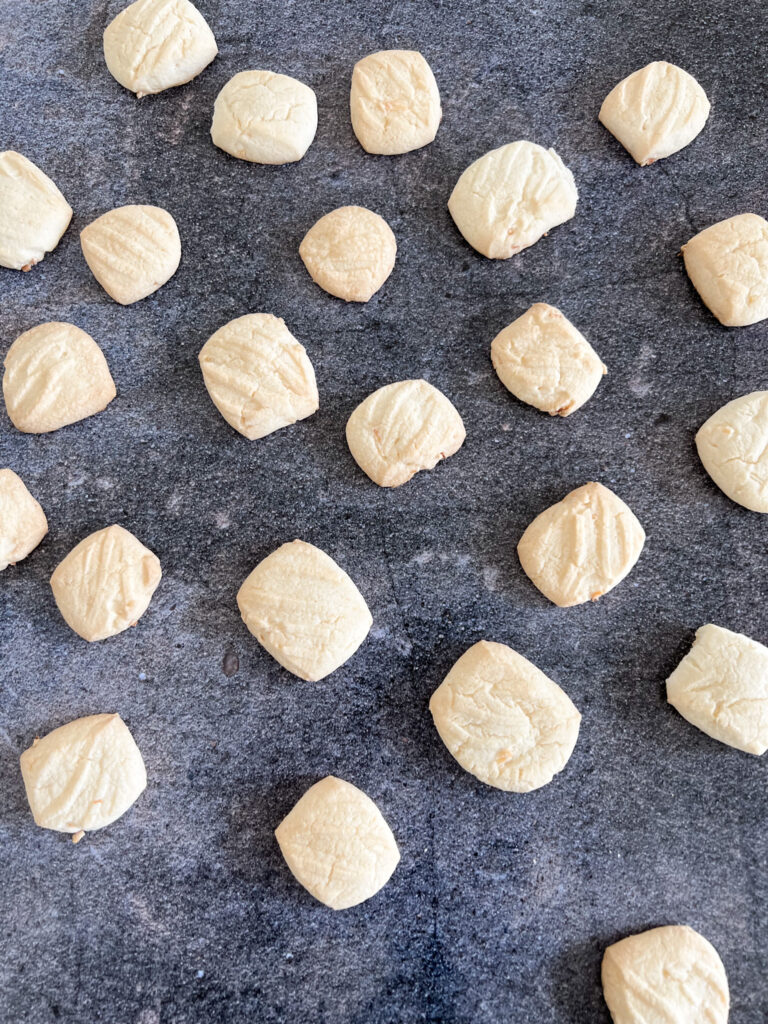
These melt-in-your-mouth arrowroot biscuits have a delicious coconut taste, and are super quick and easy to make!
This post may contain affiliate links, which means if you purchase any products through my links, I’ll earn a commission at no extra cost to you.
What are Sequilhos?
Sequilhos are biscuits made with a starch instead of regular flour (this recipe uses arrowroot starch/powder).
They melt in your mouth and are great for a little afternoon snack, especially if you are having coffee or tea, since these biscuits are quite dry (but delicious). Once you start eating them it’s hard to stop!
These arrowroot biscuits are very easy to make and don’t even require a stand mixer or cookie cutter. All you need is two cookie sheets, a couple bowls and a fork.
Where to Find Arrowroot Powder
I was able to find it at Vons and Sprouts. I always use Bob’s Red Mill arrowroot powder. For this recipe you need two packs since one pack contains 454g and you need 500g. You can also halve this recipe if you don’t want to buy two packs.
You can also find the arrowroot powder on Amazon on this link.
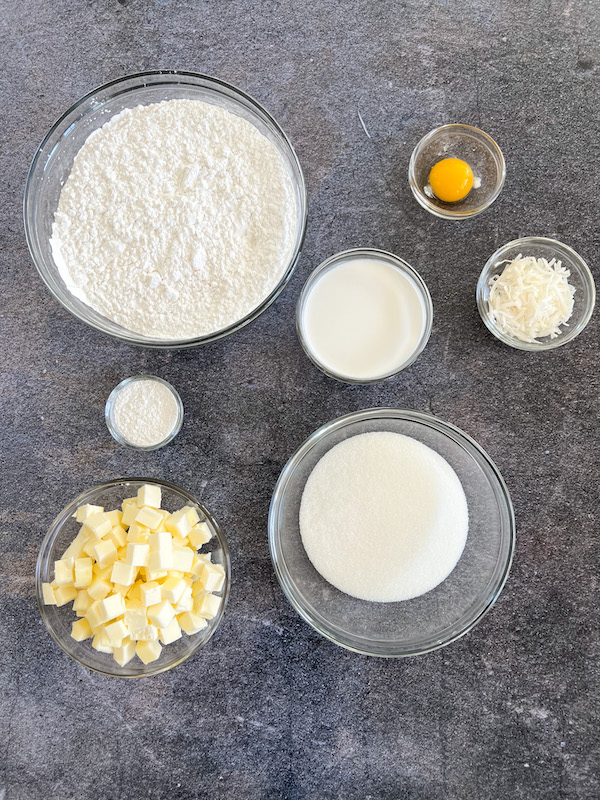
Ingredients for Arrowroot Biscuits
500g arrowroot powder
200g granulated sugar
200g unsalted butter at room temperature, cut in 1/2 inch cubes
2 tablespoons unsweetened shredded coconut – look for shredded coconut that is somewhat soft. I tried using shredded coconut from Trader Joe’s for this recipe but I think that their coconut is too hard for this.
100ml unsweetened coconut milk
1 egg yolk
1 tablespoon baking powder
How to Make Arrowroot Biscuits
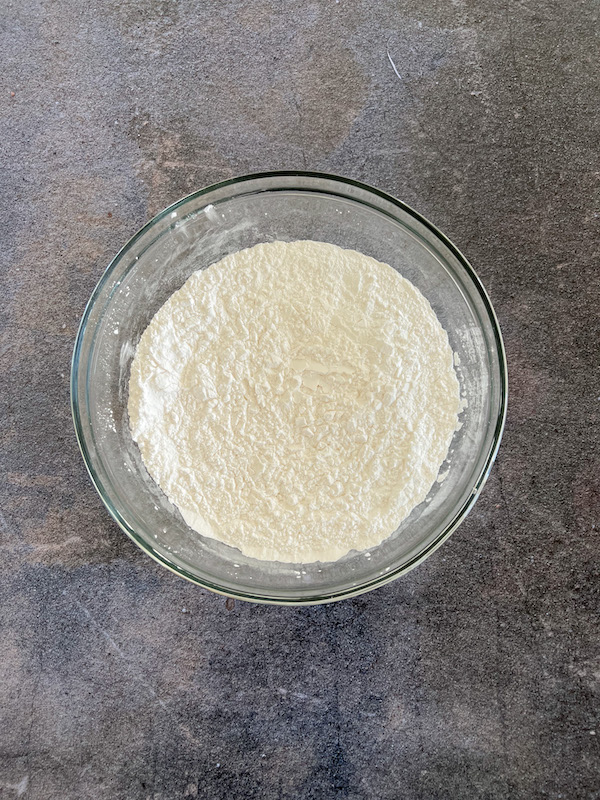
Whisk together arrowroot powder, sugar, and baking powder in a medium sized bowl.
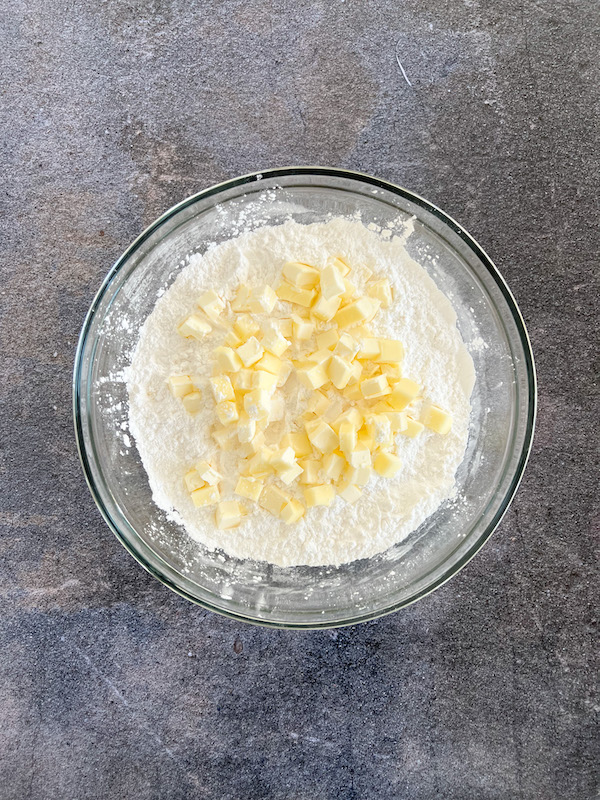
Add the butter to the bowl and use your hands to coat it with the arrowroot mix.
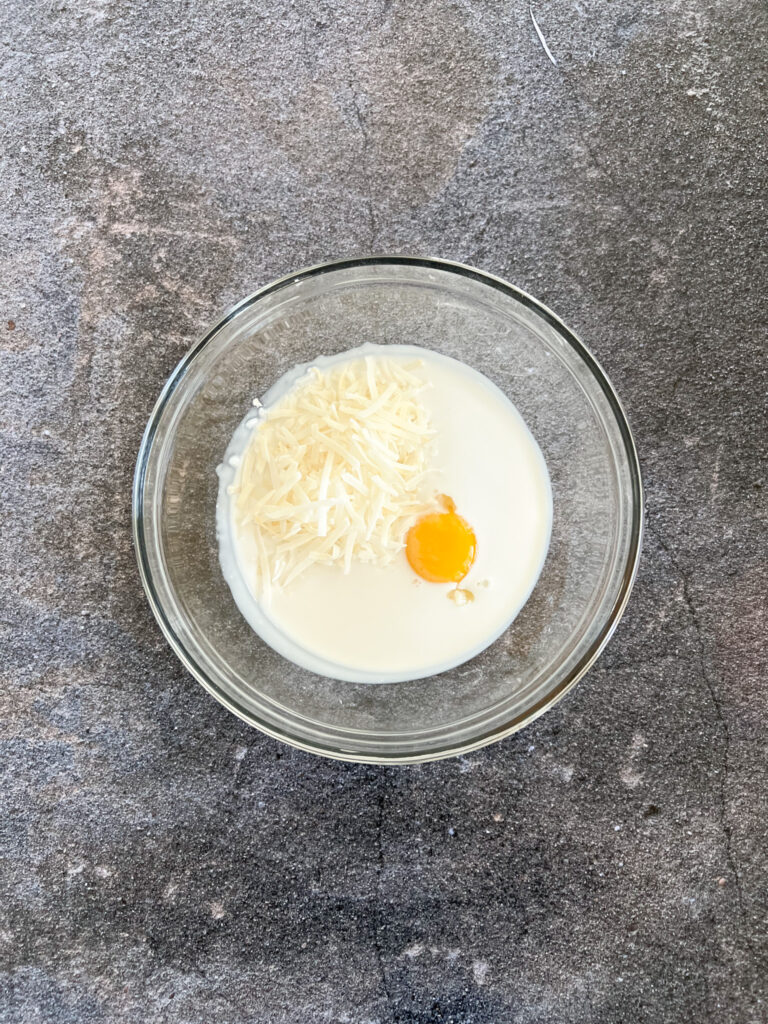
Whisk egg yolk, coconut milk, and shredded coconut in a small bowl.
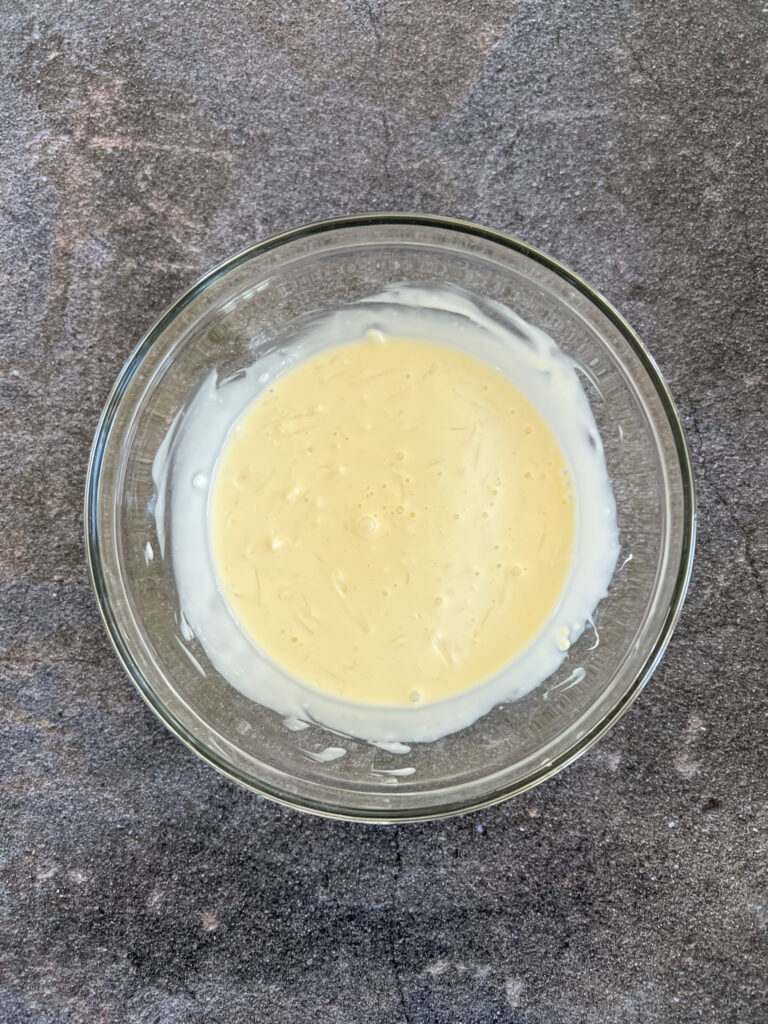
Add the wet ingredients to the arrowroot mixture and mix everything together using your hands. After combining all the ingredients, you will have some pea sized clusters, like shown below.
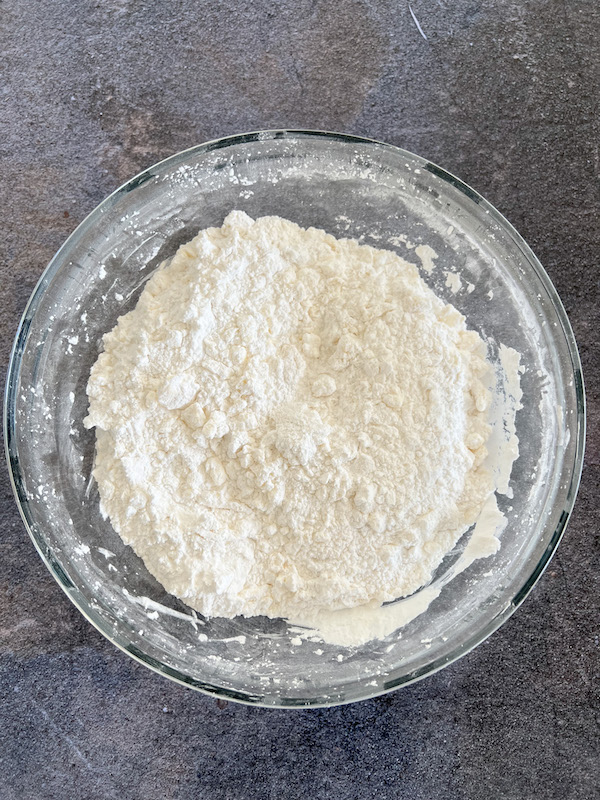
Now use you fingers to rub the butter into the dry ingredients to finish combining the ingredients together. Remember you’re just rubbing the butter into the dry ingredients, not kneading the dough. Stop rubbing when the consistency of the mixture is of breadcrumbs.
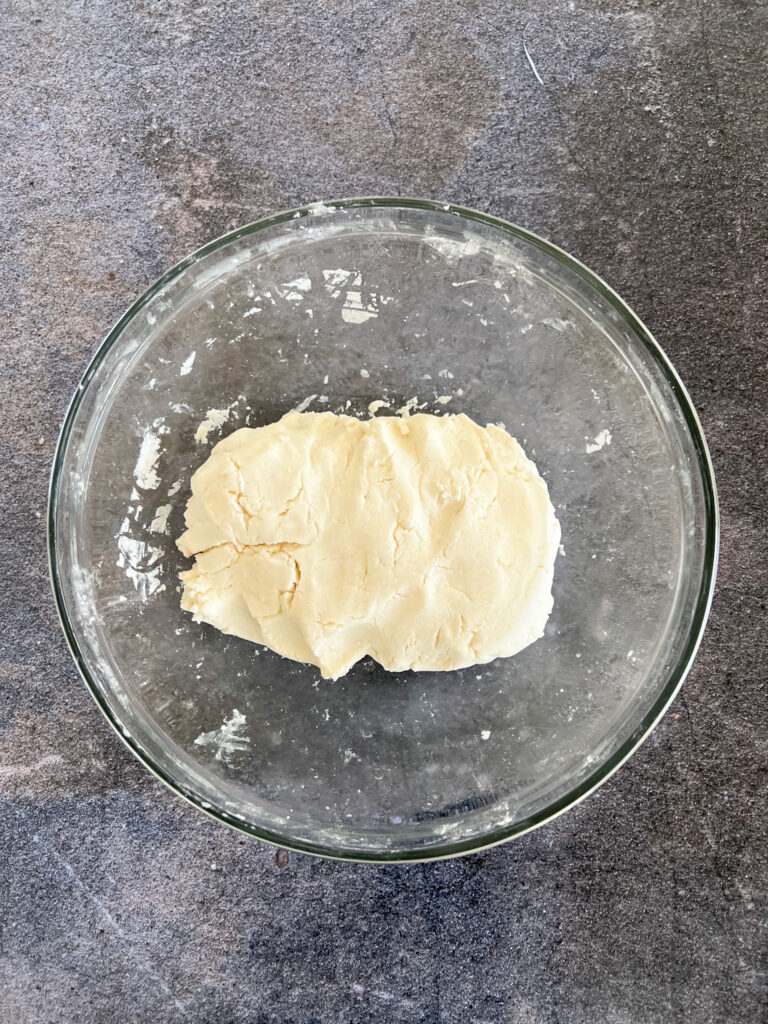
Now you need to start squeezing the dough together, forming a singular dough ball. The heat from your hands will soften the butter and help bring the dough together. The dough will be ready when the consistency is uniform and you can no longer see dry arrowroot powder in the bowl.
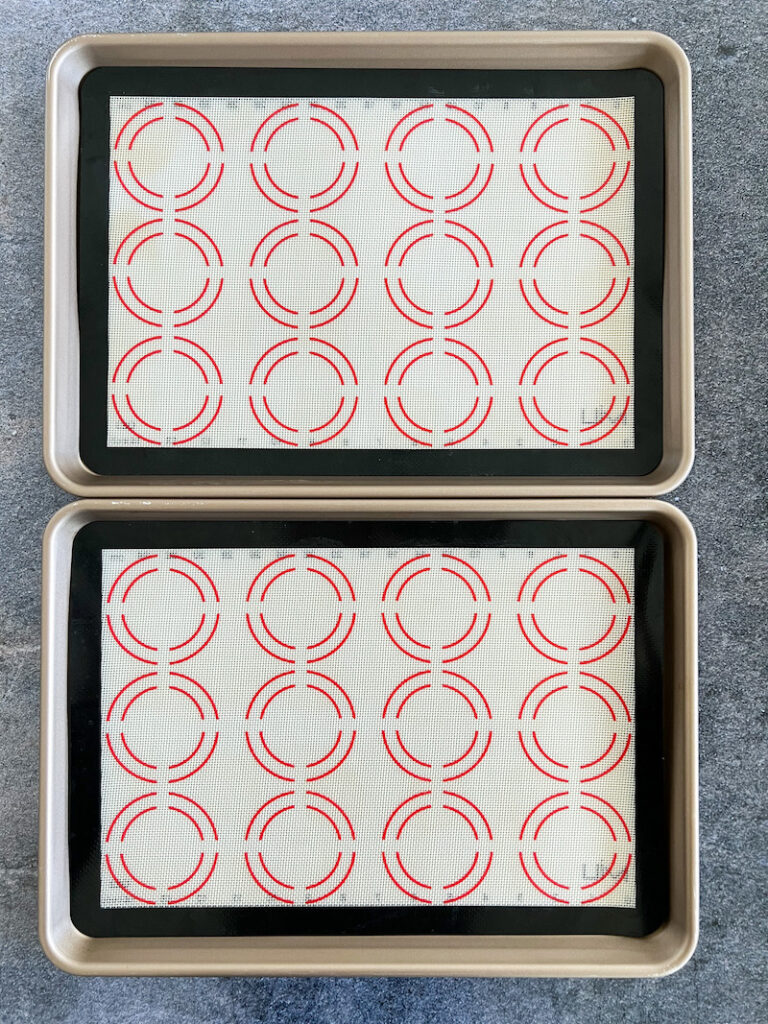
Line two large baking sheets with silicone mats (or parchment paper).
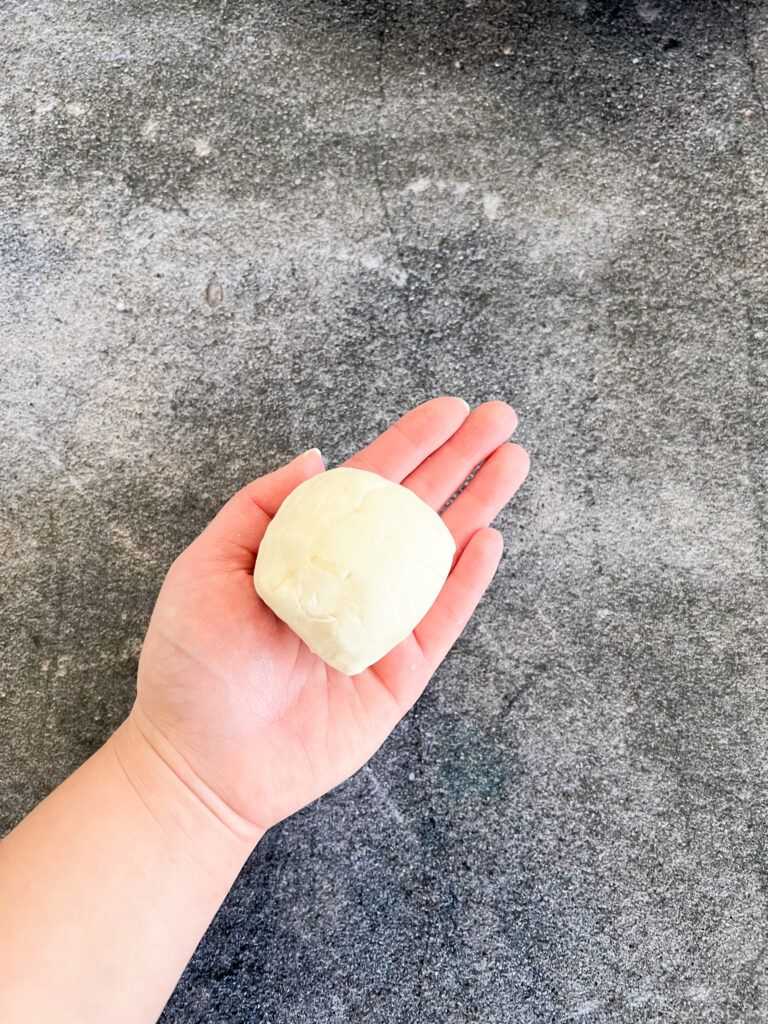
Grab a piece of dough around the size of the palm of your hand, like in the following picture, and place it on a clean work surface. The dough shouldn’t stick to the work surface; if it does, sprinkle some arrowroot powder.
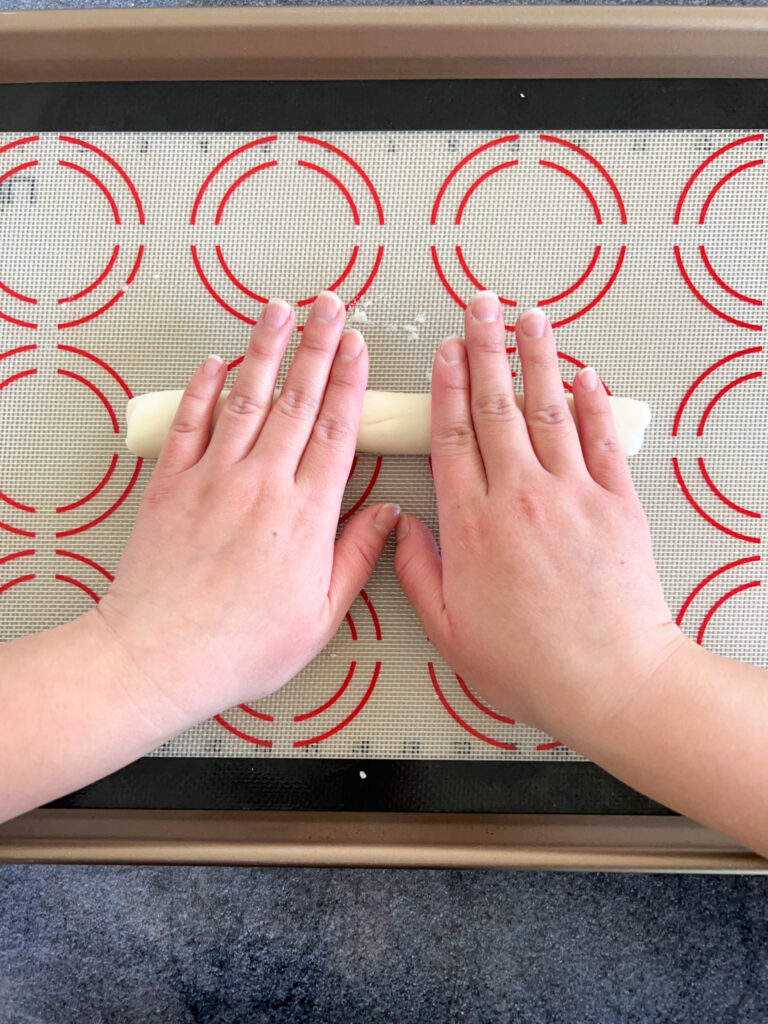
Place both your hands on top of the dough and start moving them back and forth in the same direction. You want to shape it like a long tube, like shown in the following picture. Stop rolling out the dough when the desired thickness is achieved, just remember that the biscuits will get bigger as they bake.
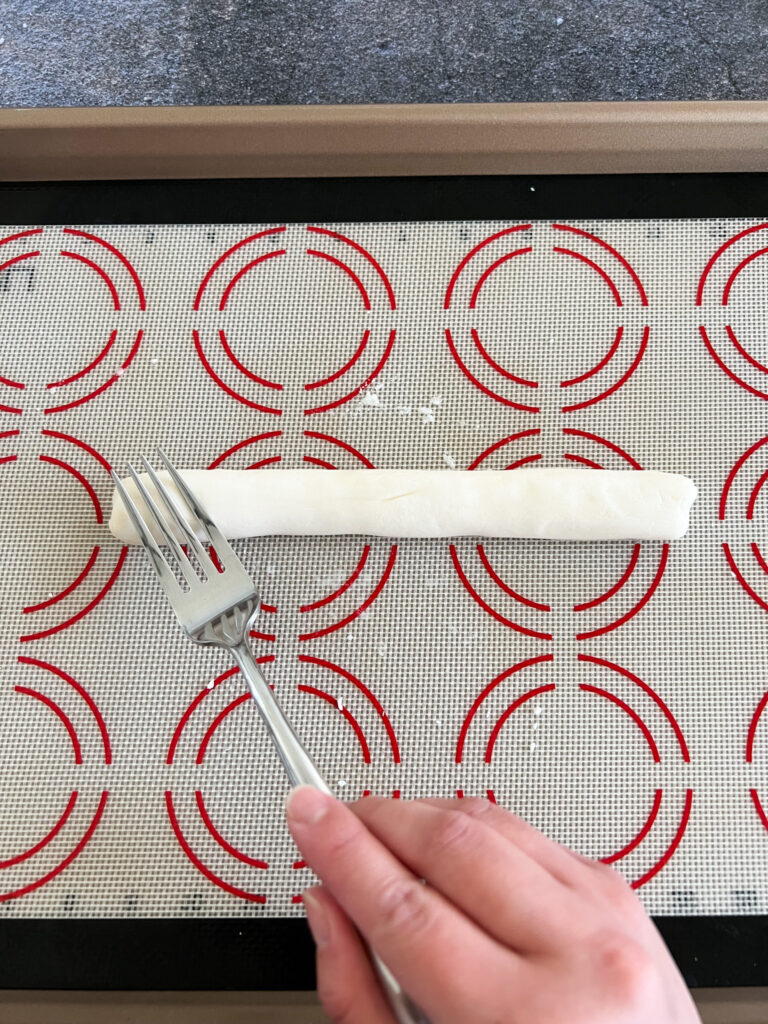
When you reach the desired width, use a fork to gently press down on the dough to mark it with thin diagonal lines (this is optional, just to add a decorative element to it).
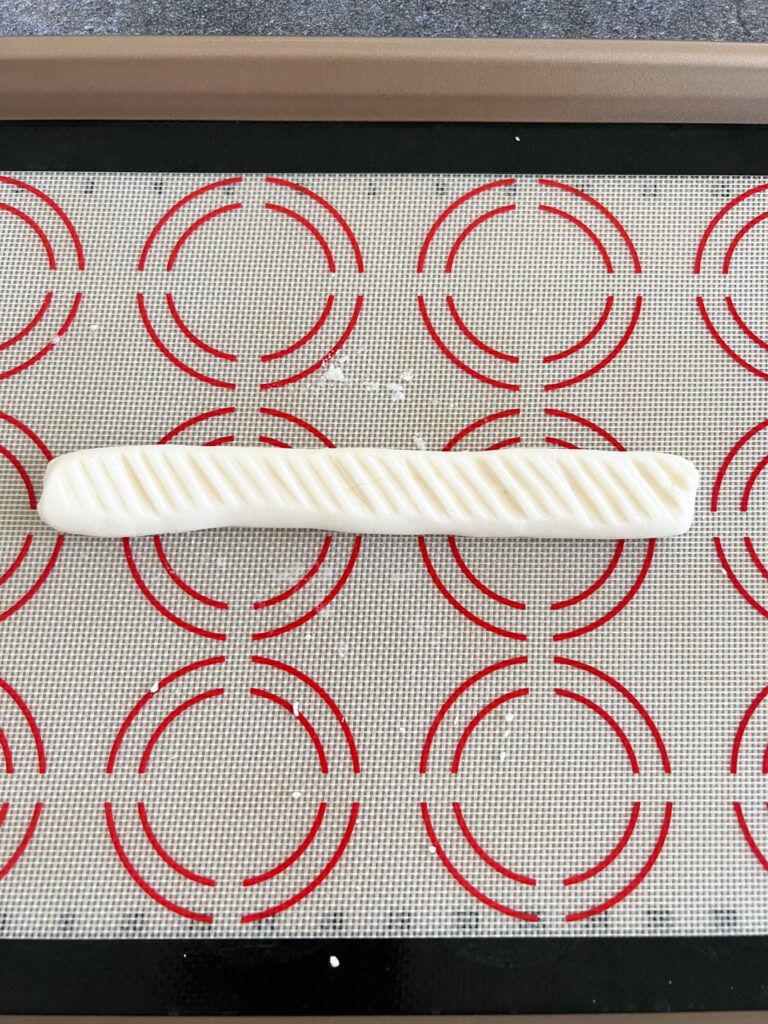
Cut the dough into squares and place the biscuits in a prepared baking sheet, leaving about one inch between the biscuits (they will expand when baking).
After you fill the first baking sheet, continue cutting the rest of the biscuits and place them in the second baking sheet. This time you don’t need to leave any space between them.
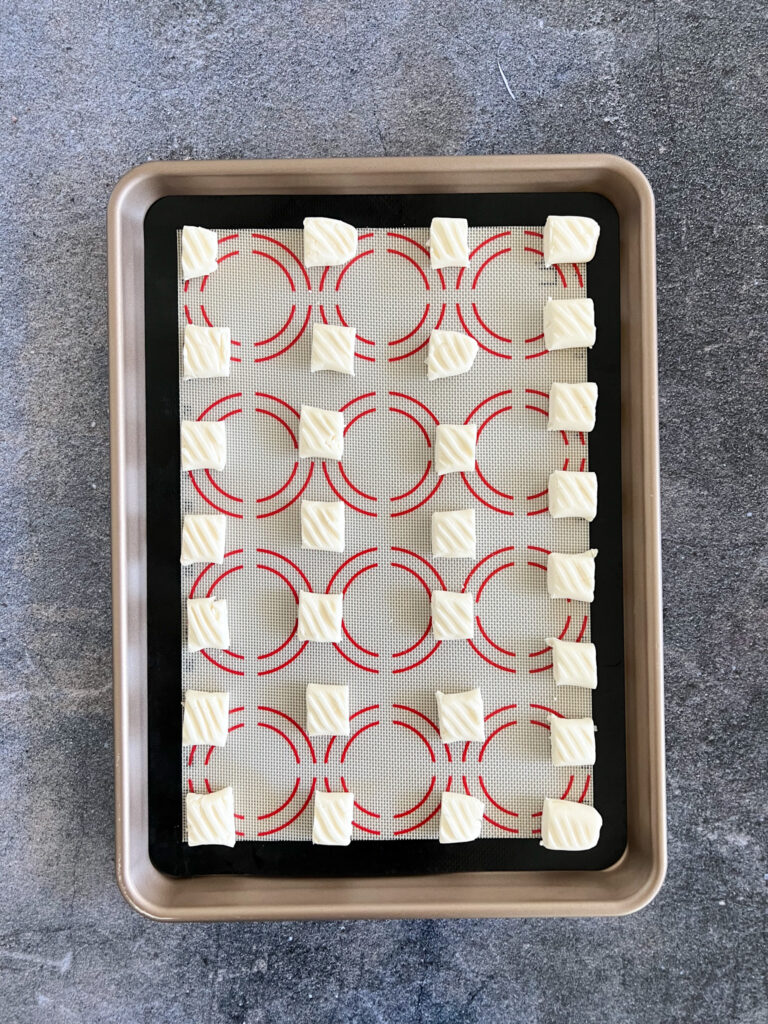
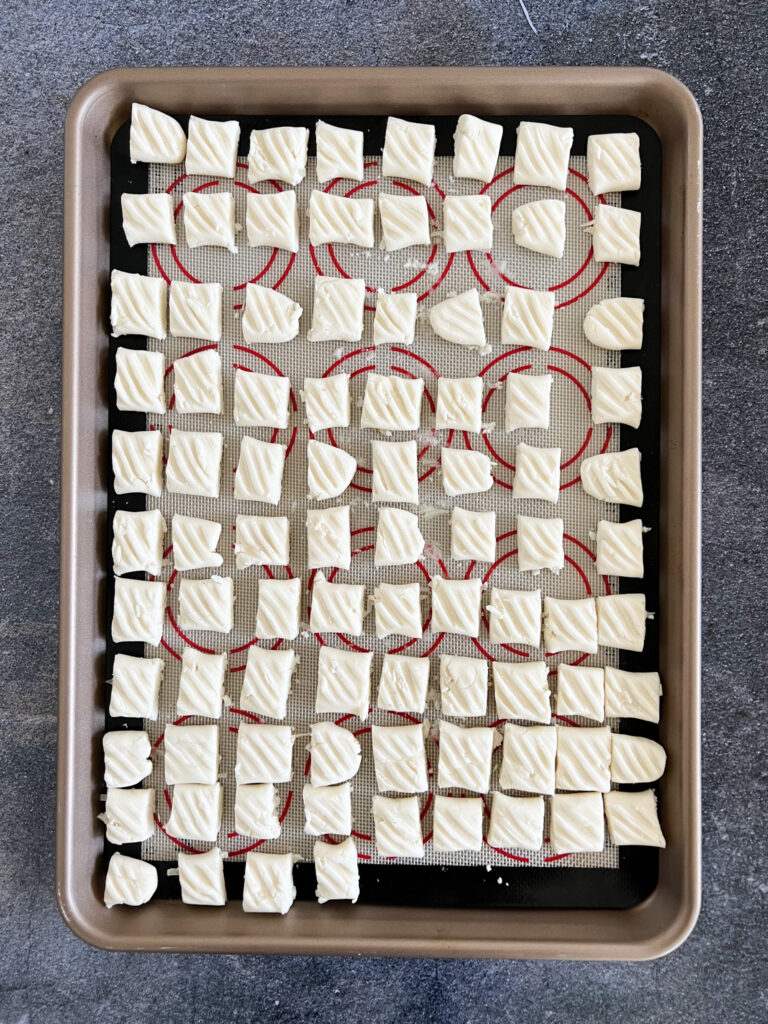
Place the biscuits in the fridge for at least 30 minutes. If the biscuits are not cold enough, they will spread too much when baking.
While you wait for the biscuits to get cold, pre heat the oven to 400ºF.
Place the first baking sheet (with space between the biscuits) in the oven for 10 to 12 minutes. Their tops are not going to look golden, they will still be pretty pale when they’re done. Their bottoms will be somewhat golden when they are done. If you wait for the top to change color, the bottom of the biscuits will burn. The second baking sheet will stay in the fridge.
When the first batch of biscuits comes out of the oven, let them cool for about 5 minutes, then move them to a cooling rack. Transfer more cold biscuits to this sheet and bake them for 10 to 12 minutes. Repeat the process until all the biscuits are baked.
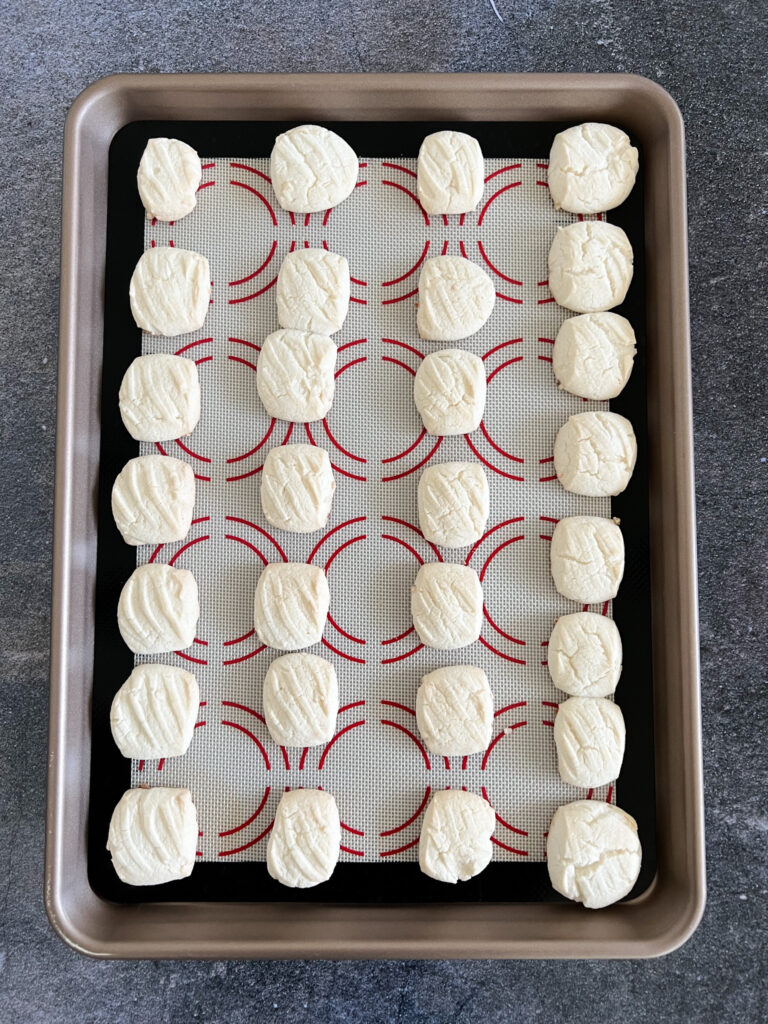
This is what they biscuits should look like when baked.
Enjoy your arrowroot biscuits with a cup of coffee or tea!
Sequilhos (Brazilian Coconut Arrowroot Biscuits)
Ingredients
- 500 g arrowroot powder
- 200 g granulated sugar
- 200 g unsalted butter room temperature, cut in 1/2 in cubes
- 2 tbsp unsweetened shredded coconut
- 100 ml unsweetened coconut milk
- 1 egg yolk
- 1 tbsp baking powder
Instructions
- Whisk together arrowroot powder, sugar, and baking powder in a medium sized bowl.
- Add the butter to the bowl and use your hands to coat it with the arrowroot mix.
- In a small bowl, whisk egg yolk, coconut milk, and shredded coconut.
- Add the wet ingredients to the arrowroot mixture and mix everything together using your hands. After combining all the ingredients, you will have some pea sized clusters.
- Now use you fingers to rub the butter into the dry ingredients to finish combining the ingredients together. Remember you're just rubbing the butter into the dry ingredients, not kneading the dough. Stop rubbing when the consistency of the mixture is of breadcrumbs.
- Now you need to start squeezing the dough together, forming a singular dough ball. The heat from your hands will soften the butter and help bringing the dough together. The dough will be done when the dough is uniform and you can no longer see dry arrowroot powder in the bowl.
- Line two large baking sheets with silicone mats (or parchment paper).
- Grab a piece of dough around the size of the palm of your hand, and place it on a clean work surface. The dough shouldn't stick to the work surface, if it does, sprinkle some arrowroot powder.
- Place both your hands on top of the dough and start moving them back and forth in the same direction. You want to shape it like a long tube. Stop rolling out the dough when the desired thickness is achieved, just remember that the biscuits will get bigger as they bake.
- When you reach the desired width, use a fork to gently press down on the dough to mark it with thin diagonal lines (this is optional, just to add a decorative element to it).
- Cut the dough into squares and place the biscuits in a prepared baking sheet, leaving about one inch between the biscuits (they will expand when baking).
- After you fill the first baking sheet, continue cutting the rest of the biscuits and place them in the second baking sheet. This time you don't need to leave any space between them.
- Place the biscuits in the fridge for at least 30 minutes. If the biscuits are not cold enough, they will spread too much when baking.
- While you wait for the biscuits to get cold, pre heat the oven to 400ºF.
- Place the first baking sheet (with space between the biscuits) in the oven for 10 to 12 minutes. Their tops are not going to look golden, they will still be pretty pale when they're done. Their bottoms will be somewhat golden when they are done. If you wait for the top to change color, the bottom of the biscuits will burn. The second baking sheet will stay in the fridge.
- When the first batch of biscuits comes out of the oven, let them cool for about 5 minutes, then move them to a cooling rack. Transfer more cold biscuits to this sheet and bake them for 10 to 12 minutes. Repeat the process until all the biscuits are baked.
- Enjoy your arrowroot biscuits with a cup of coffee or tea!

